General
Solar Roof Ventilation: A Buyer’s Checklist
Looking for solar roof ventilation for your Australian home? Choosing the right solar roof…
DIY solar roof ventilation refers to solar-powered roof ventilation designed for homeowners who are confident working safely at heights and following installation instructions carefully.
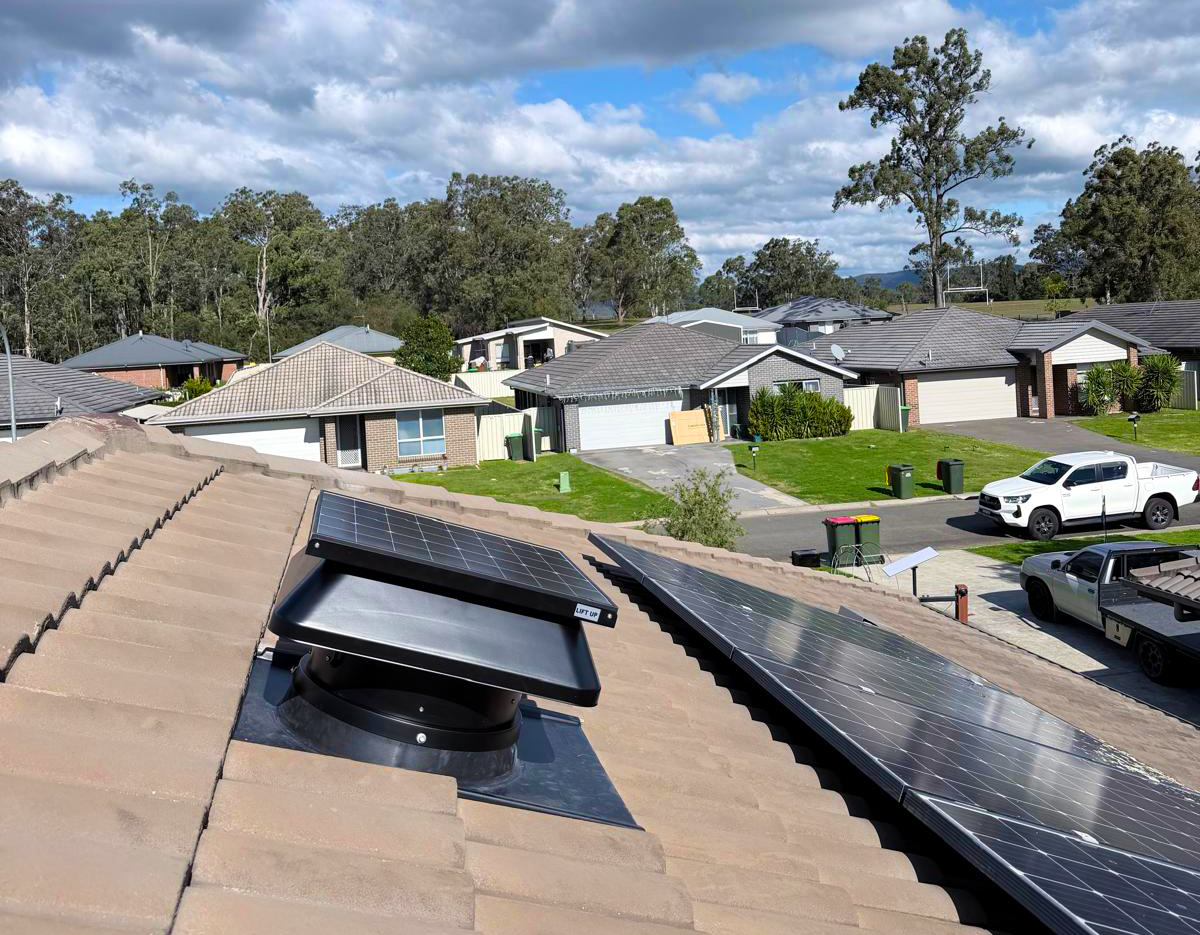
The concept is simple. A roof-mounted solar panel powers a fan that extracts hot air trapped inside your roof cavity, helping reduce heat build-up before it transfers down into your living areas.
For many homeowners, it’s an appealing upgrade. It’s a one-time installation that can improve summer comfort, support better roof-space airflow, and reduce the intense heat that builds up under your roof on hot days.
Your roof cavity can store significant heat. When the sun hits your roof, hot air accumulates inside the roof space and can remain there for hours.
A solar roof ventilator helps by:
Because the system is solar powered, it runs hardest when the sun is strongest which is exactly when your roof space is hottest.
It can be. But “easy” depends on preparation, roof access, and attention to detail.
A successful DIY installation usually requires:
Most DIY solar ventilators are simpler than wired alternatives because standard daytime operation typically involves:
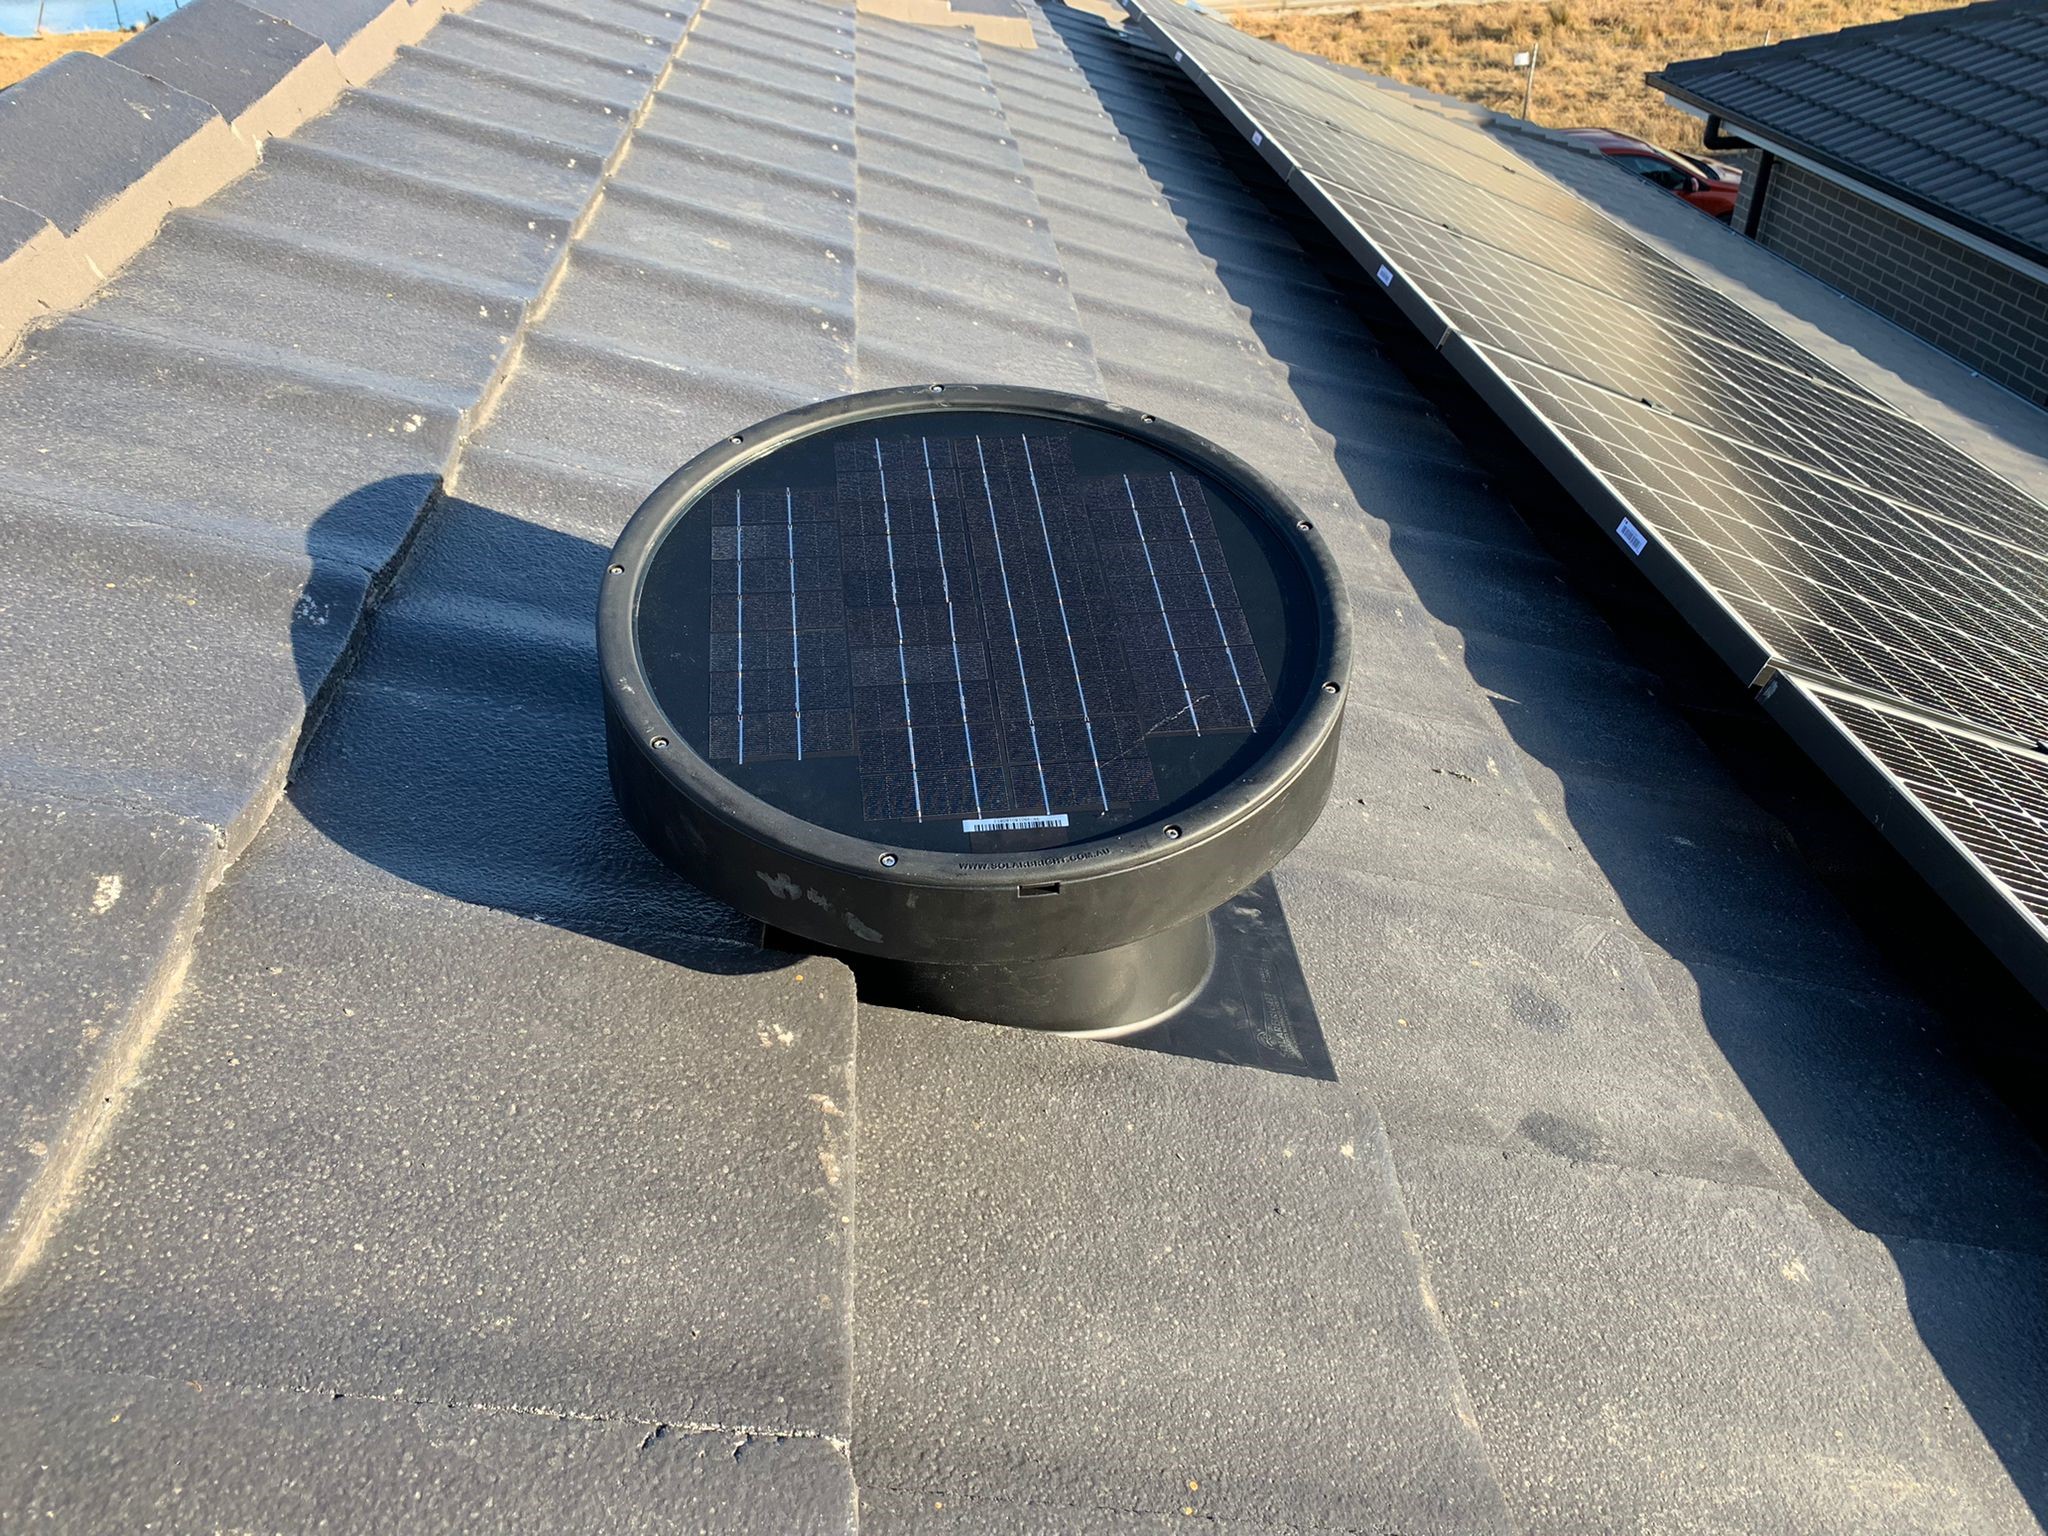
Where DIY installs succeed or fail is almost always the same area – waterproofing. If flashing is installed correctly and the unit is seated properly, the rest of the installation is generally straightforward.
50% Off Installation on DIY-Friendly MaxBreeze
SolarBright is offering 50% off MaxBreeze Solar Roof Ventilator installation fee until 31 May 2026 – grab it before it expires.
While each product has its own instructions, most follow this process:
If you’re planning to install it yourself, choose a system that reduces guesswork and risk.
When looking for a DIY-friendly solar roof ventilator, look for::
The right product makes the difference between a smooth project and a frustrating one.
If you want a solar roof ventilation system built specifically with DIY in mind, MaxBreeze by SolarBright has been designed to keep installation practical, predictable, and clean.
MaxBreeze is engineered as a complete system. The fan unit, flashing options, and solar panel components are designed to work together. This helps reduce improvisation and produces a neater final result.
Before installation, reviewing the official installation guides is strongly recommended. Roof-type flashing steps, panel positioning, and orientation details are clearly outlined.
For standard daytime ventilation, MaxBreeze runs entirely on solar power. There is no complex electrical work required, keeping the focus on correct placement and sealing.
MaxBreeze prioritises proper flashing installation from the beginning. When installed correctly, this significantly reduces the risk of leaks and helps maintain roof integrity.
Higher models and optional add-ons are designed as extensions to the base system rather than completely different installation methods. The core DIY process remains consistent.
DIY solar roof ventilation can be a smart project for capable homeowners who prioritise correct sealing and safe roof access.
If you are unsure about roof pitch, flashing requirements, or safety considerations, professional installation may be the better option.
For advice on selecting the right MaxBreeze system for your roof type and ventilation goals, contact SolarBright for a free consultation. Our team can guide you through the options and help you decide whether DIY installation suits your situation.

Take a Look
General
Looking for solar roof ventilation for your Australian home? Choosing the right solar roof…
Solar Battery Guides
SolaX has been producing solar inverters and energy storage solutions since 2012 and has…
Solar Battery Guides
Tesla Powerwall 3 is one of Australia’s most popular solar batteries and a fully…

