
Solar Battery Guides, Solar and Battery Packages Guides, NSW Solar Rebates and Incentives
Are Solar and Battery Rebates Going Down in 2027?
If you’re in the market for a solar battery, solar system, or solar and…
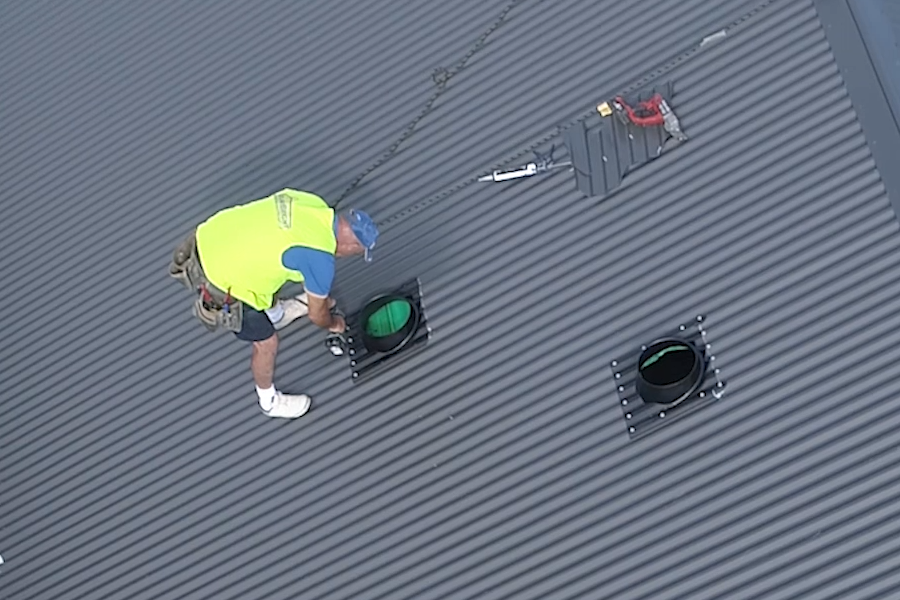
In most homes, a standard MaxLight tubular skylight installation can be completed in approximately two hours. This timeframe applies after the initial quote, roof assessment and pre-installation inspection have been completed.
Installation times can vary depending on the roof type, ceiling height, access and the distance between the roof and ceiling. However, most straightforward installations can be completed during a single visit with minimal disruption to your home.
In this guide, we explain what happens on installation day when one of our professional skylight installers arrives at your property.
Here are the five main steps involved in a MaxLight tubular skylight installation.
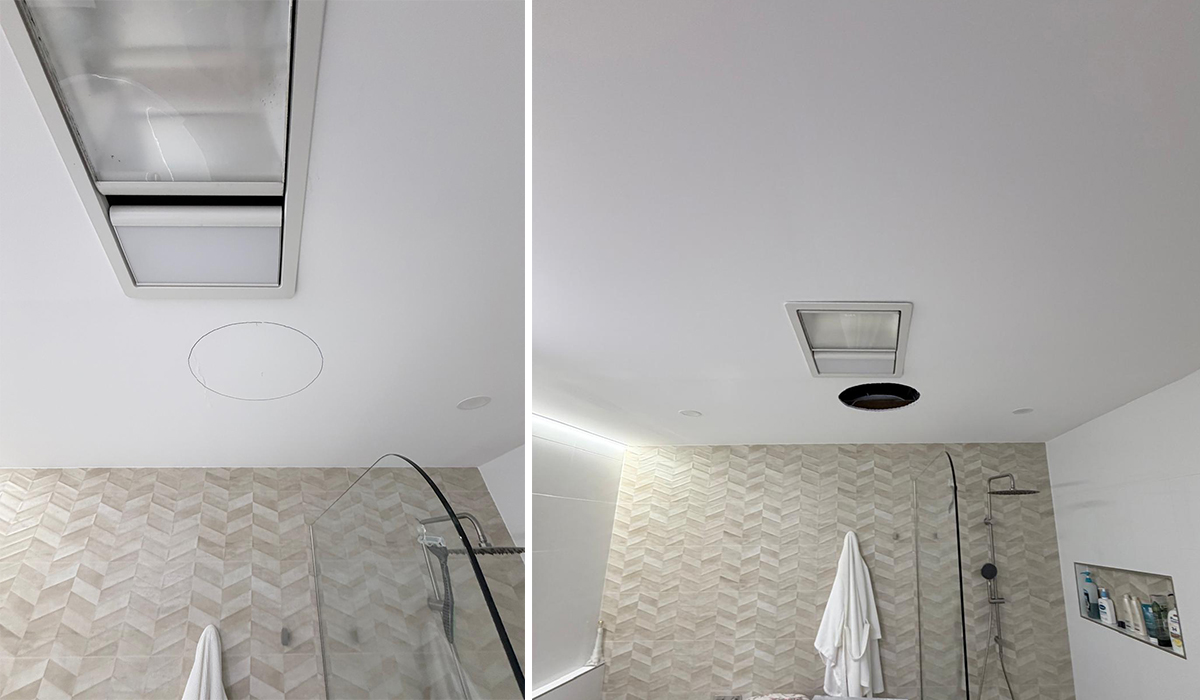
Our skylight installer begins by confirming the best position for the skylight inside the room.
Once the location has been checked from both the ceiling and roof space, a carefully measured opening is cut into the ceiling. This opening is where the MaxLight diffuser will eventually be installed.
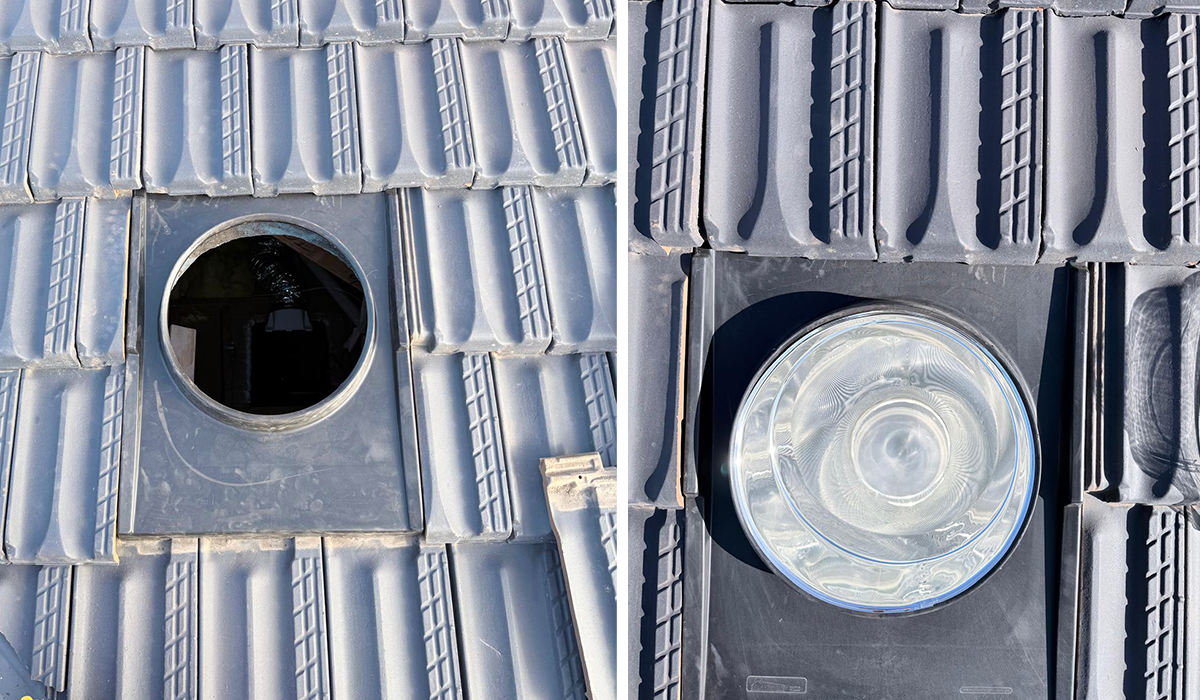
The next step is to prepare the roof opening.
The installer cuts an opening in the roof and fits the MaxLight roof flashing. The flashing creates a secure and weather-resistant connection between the tubular skylight and your roof.
The skylight dome is then installed above the flashing. This rooftop component captures sunlight throughout the day and directs it into the reflective tube.
Correct flashing installation is essential for creating a neat, secure and leak-resistant finish.
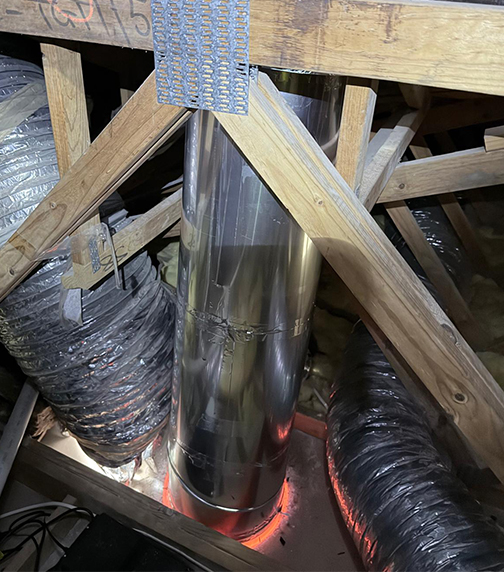
A highly reflective tube is installed between the rooftop dome and the ceiling opening.
This tube transfers natural daylight from the roof into the room below. The installer may adjust or angle the tube to work around roof structures and create the most direct light path possible.
The tube sections are then securely connected and sealed to help maximise light transfer and prevent dust from entering the system.
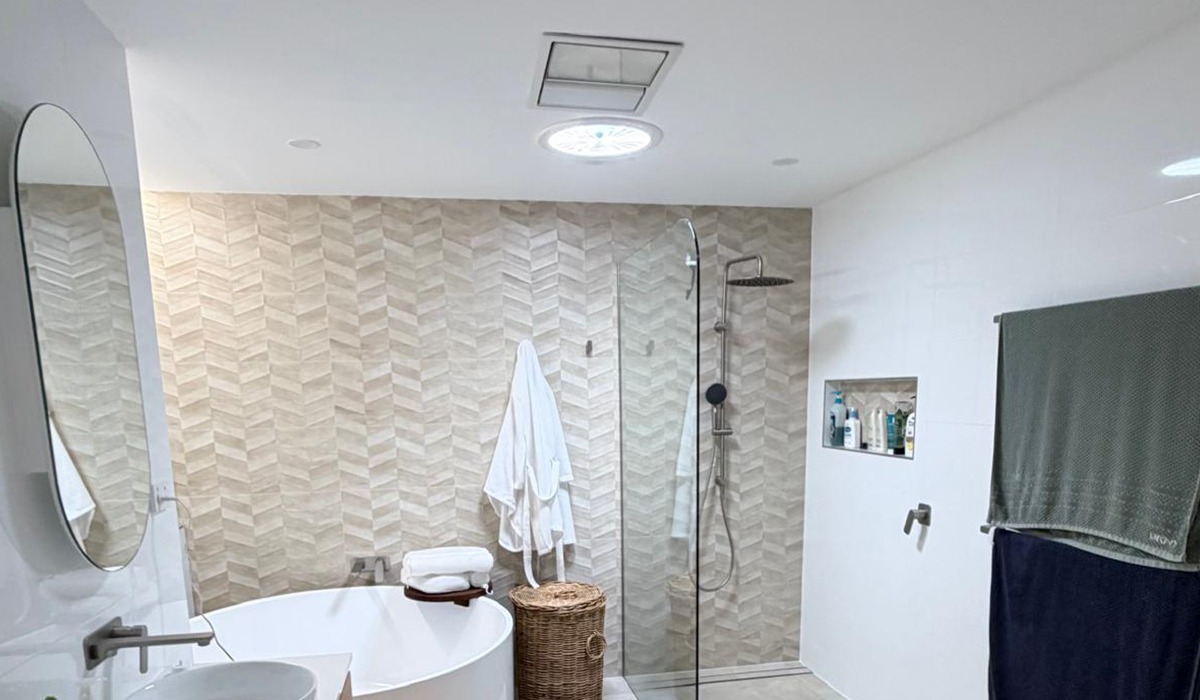
Once the tube is securely in place, the skylight diffuser is installed.
The diffuser spreads the captured daylight evenly throughout the room, helping create a bright and comfortable indoor environment without harsh glare.
The installer will make sure the diffuser sits neatly against the ceiling and provides a clean, professional finish.
After installation, the installer performs a final inspection of the roof flashing, reflective tube and ceiling diffuser.
The work area is cleaned, and the completed MaxLight tubular skylight is shown to you. The installer can also explain how the system works and answer any questions you may have.
While many MaxLight installations take around two hours, some properties may require additional time.
Installation may take longer when:
A pre-installation inspection allows the installer to identify these factors and provide a more accurate timeframe before work begins.
Contact SolarBright or book a free consultation to find the right MaxLight tubular skylight for your home.
Bring more natural light into your home with MaxLight tubular skylights, proudly designed and manufactured in Australia for local homes and conditions.
Find out more
Bring more natural light into your home with MaxLight tubular skylights, proudly designed and manufactured in Australia for local homes and conditions.
Find out more
Take a Look
Solar Battery Guides, Solar and Battery Packages Guides, NSW Solar Rebates and Incentives
If you’re in the market for a solar battery, solar system, or solar and…
SolarBright Guides, Roof Ventilation Guides
Mould is a common problem in Australian homes, particularly where moisture, humidity and poor…
Solar Panels Guides
Solar panels are designed to provide reliable electricity for many years. However, like any…